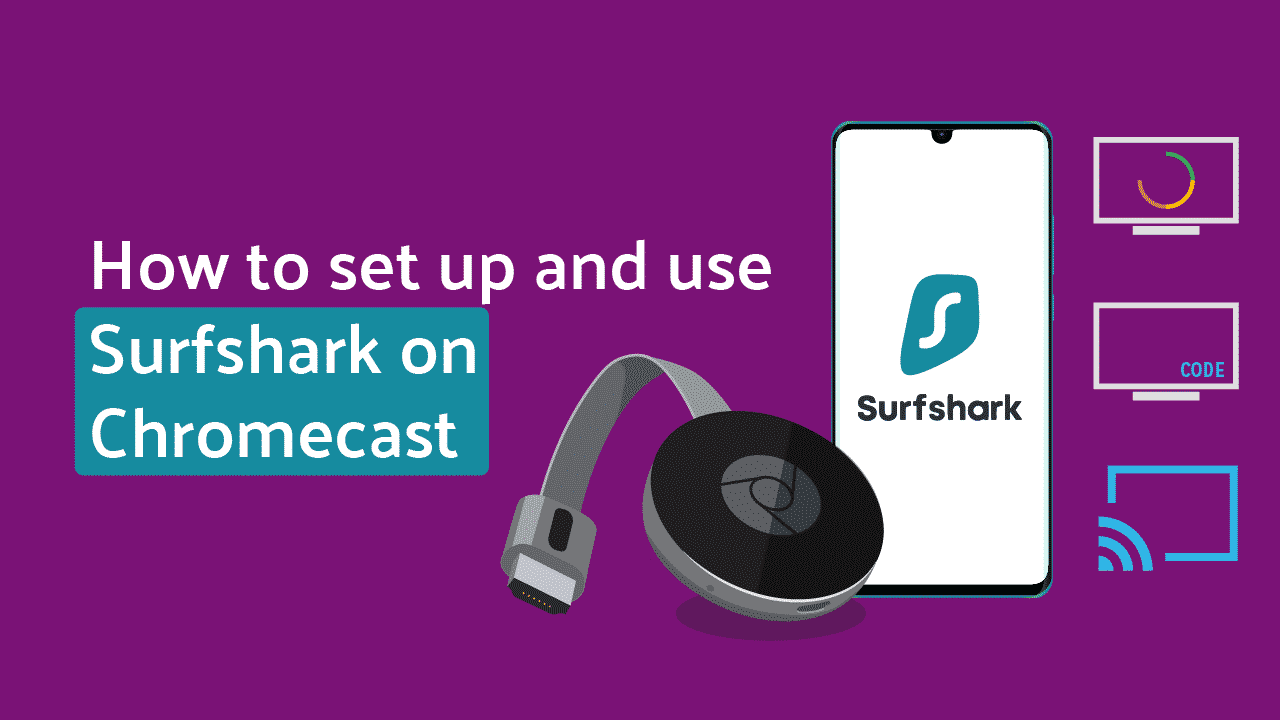
How to Setup and Use Surfshark on Chromecast (Updated 2026)
Google’s Chromecast is a simple but powerful device. Google released the little USB dongle in 2013. It allows users access to multiple streaming services. It has the added advantage of screencasting for older model TVs (simply put, non-smart TVs).
Streaming with Chromecast is meant to be a world of fun. But the streaming services have taken away most of the fun. They now restrict the content that people have access to based on geographical locations. This geo-restriction simply means that you can only access content that is peculiar to your geographical location. This is a minus for most people as they are more interested in shows that belong to other geographical areas. To solve this problem, you need the help of a good VPN like Surfshark.
Using Surfshark on Chromecast helps a user overcome the geo-restrictions placed by streaming services, granting access to all of the content you crave. This article will show you how you can set up and use Surfshark on your Chromecast device. Follow through, and you would be streaming all the shows you always wanted with ease in no time.
How to Set Up Surfshark on Chromecast
There are three different methods for setting up Surfshark on Chromecast.
- Setting up on a physical router
- Setting up on PC
- Setting up on Mac
We will run through each of these methods, showing you a step by step guide on how to get it done.
Setting Up Surfshark on a Physical Router
1. To set up Surfshark on a physical router, you would need a Chromecast device and a physical router. Take note that you must get a VPN-ready router as these are the ones that can work for this process.
2. Go to your router’s admin panel in your browser and check for your router’s documentation.
3. Find the local IP address for your router. Most routers have their default address set at 192. 168. 1. 1.
4. Sign in to your router with your password. If you have never changed the password, then it would be a default.
5. Find Surfshark on the router’s admin panel. Its placement could vary from one router to another.
6. Enter your Surfshark connection details. These will include your username, password, and the IP address of the server you would be connecting to.
7. Save all these changes and leave the router’s admin panel.
8. Share your router’s connection with your Chromecast device. You should be connected now and ready to stream all your favorite content.
Setting Up Surfshark on PC
1. For this setup, you’ll need a Chromecast, a PC, and a Surfshark account.
2. Press the Windows and S keys simultaneously.
3. Type in “cmd.”
4. Right-click “Command Prompt” and select “Run as Administrator” in the drop-down menu.
5. Copy and paste in “netsh wlan set hostednetwork mode=allow ssid=[NETWORKNAME] key=[PASSWORD].” Do not press “Enter.”
6. In place of [NETWORKNAME], input the name for your new network.
7. In place of [PASSWORD], input the password for your new network.
8. Press “Enter.”
9. Press the Windows and R keys simultaneously.
10. Type in “ncpa.cpl” and click “OK.”
11. Find the connection that has the name that you chose.
12.Find your VPN connection. In this case, it would be Surfshark.
13. Right-click on it and select “Properties” in the drop-down menu.
14. Go to the “Sharing Tab,” check the “Allow other network users to connect through this computer’s internet connection” box, and choose the hotspot with the title you noted in the drop-down menu. Click, “OK.”
15. Connect your Google Chromecast to WiFi and stream to your satisfaction.
16. Please take note that this setting applies to Windows 10.
Setting Up Surfshark on Mac
1. Setting up Surfshark on Mac is an easy process anybody can initiate. We are going to run through the steps involved below:
2. Go to the ‘System Preferences’
3. Then navigate to the ‘Network’ section; click on the plus sign to add a new Network service
4. In the pop-up window, set the selection boxes following this guide: for interfaceVPN, VPN Type = L2TP over IPSec, Service Name = input preferred name for the Network. After choosing the prescribed selections, click on the ‘Create’ button to create your VPN network.
5. Return to the ‘Network’ section and click on the VPN connection you just created. The pop-up window will require you to enter the server address, account name, and other details of your Surfshark account. Don’t forget to check the ‘Show VPN Status’ in the menu bar’ option; it allows you to keep tabs on activities on the network without having to go all the way to ‘System Preferences.’
6. Under the ‘Authentication Settings,’ input your VPN password. Input and save the number in the ‘Shared Secret’ box, but you might want to write it somewhere, just to be safe.
7. Double-check all boxes to check in the ‘Options’ section, then save all changes before proceeding to exit the page.
8. Share the Internet connection of your MacBook with the Chromecast device and stream to your satisfaction.
Advantages of Using Surfshark on Chromecast
There are lots of advantages that you get to enjoy when you use Chromecast along with Surfshark. They include:
1. Unlocking prowess
The primary benefit of using Surfshark on Chromecast is that you can by-pass all geo-restrictions and access content that you desire. The way this works is that your VPN connection, which is being used by your Chromecast, has an IP address that is different from your regular IP address.
This IP, which is synonymous with your chosen location, tricks the platform into thinking you are streaming from that region. So you are given access to all the content that is reserved for people in that region. This makes you for example access content like Netflix US or Netflix Japan in other regions.
2. Speed
Many times, streaming can be a frustrating experience if you do not have a fast connection. Asides from the unblocking prowess, Surfshark offers great speed that makes your streaming experience a delight. Its servers are -fastlightning-fast and usually have unlimited bandwidth. This makes your streaming process effortless.
3. Security and Privacy
Using Chromecast with a Surfshark account offers a great deal of security and privacy. All the data generated from your online sessions is throttled through secure encryption (AES 256-bit). This means that your ISP cannot tell what you are doing online.
There is also a kill switch that disrupts all internet connectivity if your VPN network drops. Also, Surfshark operates a no-log policy. This means that it doesn’t keep records of your browsing history. That’s more than enough security and privacy for you.
Conclusion
Using Surfshark on Chromecast is one of the surest ways to take your streaming to another whole level. Now that you know what you have to do to get your Chromecast to access all of the content you are craving, you can give it a try and stream happily for as long as you wish.


Get 87% off now
