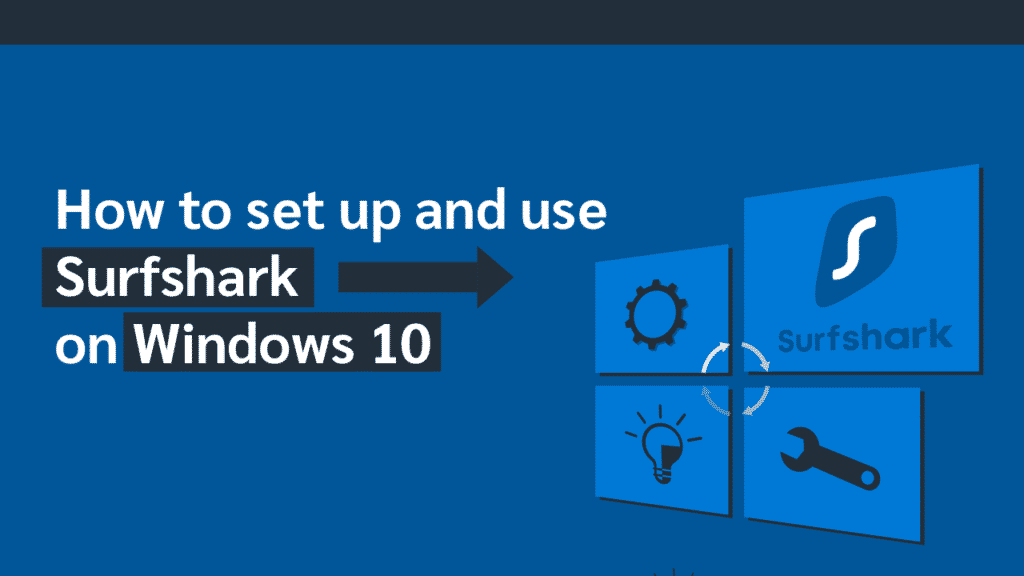
How to Set Up and Use Surfshark on Windows 10 (Quick Guide)
Windows 10 is the latest version of the Windows OS developed by Microsoft. Released to the public in July 2015, the Windows 8 successor has become a people’s favorite, grossing over a billion users worldwide, making it one of the most used OS around the world. Windows 10 offers users the best of functionality and user-friendliness. Its intuitive interface is simple and straightforward. This is one of the reasons why many people trust it.
However, windows 10, like every other OS, needs adequate security and privacy, especially when the internet comes into the picture. Surfing the internet on your Windows 10 enabled device without any form of protection could prove fatal. You could suffer from different cyber anomalies in the hands of hackers and cyber thieves. Your surest bet will be to use a premium VPN, like Surfshark. In this article, we would show you how to Set up Surfshark on Windows 10 to offer your OS the best security.
How to Set Up Surfshark on Windows 10
Setting up Surfshark on Windows 10 will be easy if you follow this simple step by step guide. For this process, you would need a Windows 10 enabled device, a good internet connection, and an active Surfshark subscription. Follow the steps listed below to set up Surfshark on Windows 10.
1. Go to the Surfshark website. Click on the menu button. From the menu dropdown, click on apps.
2. From the list of apps, choose Windows.
3. Click on the Download Now button to start the Download.
4. Find the Installation file on your computer. Right-click on the file and click on install.
5. When asked if you want to allow this application to make changes to your device, click Yes.
6. The app will be installed on your device and will launch automatically.
7. Log in using your Surfshark account details.
8. Connect to a server of your choice. You can use the quick connect feature to connect to the fastest server for you automatically.


Get 87% off now
How to Set Up Surfshark on Windows 10 via Router
You can also use a router to set up Surfshark on Windows 10. For this, you would need your Windows 10 device, a Surfshark subscription, and a VPN-enabled router. For the router, there are two basic types, the pre-configured and the unconfigured Router. If you are using a Pre-configured Router, you do not need to go through the configuration hassles. It comes with a VPN pre-installed. All you have to do is turn it on and connect. The only downside is that it is pricey.
On the other hand, the unconfigured router is cheaper to procure but could prove very tedious to set up. To set up the unconfigured router, you must first confirm that your router:
- Is compatible with VPNs
- Supports OpenVPN
- Supports Surfshark as a client, not as a server
How to Set Up Surfshark via Router
Below are the steps to follow to set up Surfshark with Windows 10 via router:
Step 1: Download OpenVPN Configuration Files from Surfshark.
- Open your router settings panel by entering 192.168.1.1 or 192.168.0.1. in your browser.
- Click Services and open the VPN minitab.
- Click on Start OpenVPN Client.
- Now, you should be able to access the OpenVPN Configurations Panel.
Step 2: Fill in the Following OpenVPN Client Custom Settings
Server IP/Name: Input the Server IP or Name of the OpenVPN file from any of the ones available here: Server recommended by Surfshark.) Click on Show Available Protocols. Download the UDP or TCP configuration file available on the list. It is usually found under the server tile.
Port Address: 1194 (or 443 for TCP protocol)
Tunnel Device: Select the TUN option.
Tunnel Protocol: UDP or TCP.
Encryption Cipher: AES-256-CBC
Hash Algorithm: SHA-512.
Username and Password = Enter Your NordVPN username and associated password.
Advanced Options: Enabled.
TLS Cipher: None
LZO Compression: Disable
NAT: Enable
Firewall Protection: Enable.
IP Address: leave blank.
Subnet Mask: leave blank.
Tunnel MTU setting: 1500.
UDP Fragment: 1450.
Tunnel UDP MSS-Fix: Enable.
nsCertType verification: Tick ✔
Please be careful not to edit or input anything that is not listed here. Not sticking to this can sabotage the entire process.
Step 3: Set up Windows 10 on your router
- Connect your Windows 10 device to the router using an Ethernet cable. Just plug the cable into the necessary port on both devices.
- Test the connection on your computer. It should be working smoothly. Now you are connected to Surfshark.
Get 87% off now
Advantages of Using Surfshark on Windows 10
Using Surfshark on Windows 10 offers tons of merits for your device. They include:
1. Server Coverage
Surfshark has a server coverage of over 1700 servers in over 63 countries. This means you can sit in the comfort of your home and connect to different places around the world. Its servers are robust and reliable. With Surfshark, you can be sure to get speedy servers that will suit your needs any day at any time.

2. Security and Privacy
Surfshark offers excellent security and privacy for your windows 10. It uses AES 256-bit encryption to secure your data. Additionally, it uses a kill switch, which halts all network proceedings should the VPN connection drop. Surfshark also runs a no-log policy. This is a feature that ensures that the company keeps no users’ data. With these and other security and privacy features, Surfshark provides you airtight security on your device.
3. Streaming and Torrenting
Surfshark offers you the best streaming and torrenting features. These two high-end tasks usually require great speed and top quality security and privacy. For streaming, you need great speed and unlimited bandwidth, and Surfshark offers both. Surfshark also offers great unblocking prowess, making it easy for you to bypass all kinds of geo-restrictions on streaming websites. This means you can access the best of content on your Windows 10, all thanks to Surfshark. With Surfshark, you can unblock top streaming sites like Netflix, Hulu, Amazon Prime, Disney, BBC iPlayer, and others.
For torrenting, Surfshark offers excellent speed and unlimited bandwidth. You also get P2P servers that are specially optimized for torrenting. This is to ensure you stay safe while you upload or download data across the internet.
Conclusion
Pairing Surfshark with Windows 10 opens up the user to tons of possibilities and merits that they would never have on a regular day. With Surfshark, you can unlock the internet on your Windows 10 device and also enjoy the best of security and privacy while you are at it. Once you complete this setup, you would be safer than safe can be.
