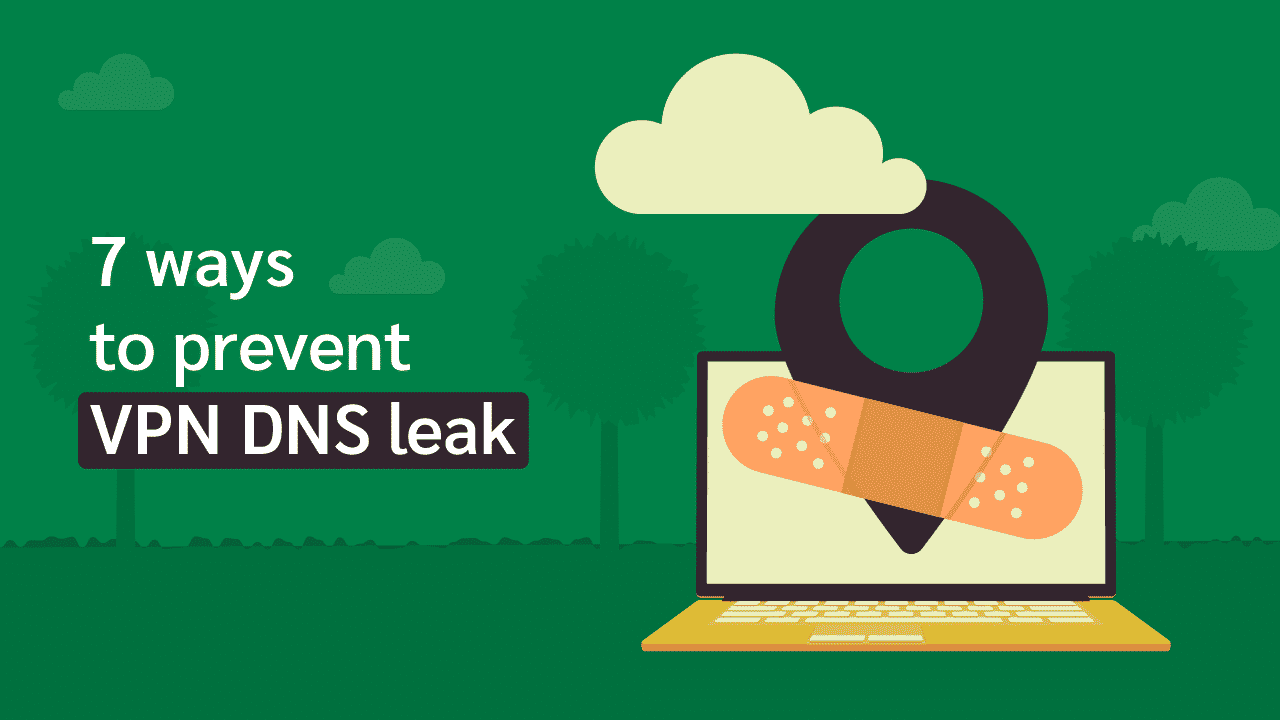
7 Ways to Prevent VPN DNS Leak

Privacy is a major priority for most people, and on the internet, there are so many ways cyber insecurity could compromise your privacy. Thankfully, our computers and other devices have certain tools that protect personal information and other data.
For the average person, DNS leaks may not sound like that big of a deal; it may even be something they’ve never heard of. Regardless, a DNS leak could be a potential problem for you.
The very moment you get connected to the internet, many processes occur in the background. Some of these processes are part of your security system, and should any of them fail to function properly; you could be faced with a DNS leak. Once this happens, anyone with the right skills or tools could have access to your data.
To know more about DNS leaks and how you can prevent them, read on. This article will highlight all there is to know in clear details.
What Is DNS?
Domain Name System or DNS is a system that connects websites through the match of readable domain names you’re interested in, with numbers (IP address). DNS makes it possible to use words to search for a webpage instead of a string of numbers.
Every device connects to the internet with its unique IP address, so it is possible to identify a computer or mobile device through its IP address.
DNS is so useful that you don’t bother remembering the IP addresses for the websites you visit. It associates IP addresses with domain names, so you only have to remember the web address, and the system connects with the IP address.
What Is a DNS Leak?
Now, you have a basic idea of what a DNS is. What then is a DNS leak?
A DNS leak refers to the breach of your data, even though you use privacy tools such as a Virtual Private Network (VPN) to conceal your information. A DNS leak leaves your data exposed as unauthorized parties gain access to your DNS server requests.
VPN software helps surf the web with IP addresses that aren’t yours by using a new random one from a different server. In most cases, the new IP address changes systematically to throw anyone off your scent. It also transmits your data through a secure and highly encrypted tunnel, so someone can’t keep tabs on your internet activities.
While VPNs are very secure tools, they are not 100% efficient. Your IP address can become exposed, or data being sent could be unencrypted. When a VPN doesn’t conceal and change your ISP IP address, the traffic between your end and DNS could be intercepted by malicious figures.
Common Causes of a DNS Leak
There are so many possible causes of a DNS leak. However, we’ve highlighted some of the most common causes, such as:
1. A preexisting problem with how IPv4 to IPv6 transitions on your devices.
2. The wrong configuration of your network’s DNS can expose your IP address.
3. Your Internet Service Provider (ISP) may subscribe to transparent DNS proxies. This typically happens if the settings have been changed to an open DNS like OpenDNS.
When faced with a DNS leak, we advise that you take the issue seriously and try to fix it as soon as possible. Here is an easy guide to help you check if you’re exposed to a DNS leak.
How to Conduct a DNS Leak Test
We use VPNs to stay protected while surfing the internet. They encrypt all the data traffic between your devices and the DNS server end. Without a VPN, all your data, such as your IP address, would be free information to any hacker.
You could check for a DNS leak with these easy steps:
1. Turn off the VPN
2. Go online and visit either dnsleak.com or dnsleaktest.com
3. The websites would display your real ISP IP address, hostname, ISP’s name, and your location.
4. You can turn your VPN back on and select a preferred server location.
5. You return to either of the checking websites we mentioned earlier. Your information should be different this time. If it still displays your real details, you face a DNS leak, which can compromise your gadgets.
7 Ways to Prevent VPN DNS Data Leaks
You could prevent your VPN DNS leaks with some simple tips and internet practices.
1. Use an Antivirus
A powerful antivirus usually comes equipped with a firewall that prevents intrusion from malicious traffic. It allows you to restrict all non-VPN traffic from having access to your data.
2. A Secure DNS Service
Companies that guarantee secure DNS connections offer complete encryption of all DNS traffic and additionally provide a DNS filtering service. The tool verifies any DNS request and restricts suspicious websites.
3. Use a VPN With DNS Leak Protection
Look around your VPN’s settings to see if there is a ‘DNS Leak Protection’ option. This is a safety tool that ensures all DNS requests are channeled through the VPN DNS server.
4. Block Non-VPN Traffic
Another effective method of preventing a DNS leak is to use a VPN that lets you bind select programs or applications to the VPN network. This means that such applications won’t connect to the internet if the VPN isn’t running.
5. Delete DNS Caches
All the data that has to do with your browsing history is stored in a DNS cache. Almost anyone can use this information to track you online and get access to personal information.
6. Disable Windows Teredo
Microsoft Teredo is an important transition technology for facilitating communication between ‘IPv4’ and ‘IPv6’ IP protocols. This feature has its downsides, though; the application could bypass VPN’s IP address and gain access to your ISP IP address.
To avoid DNS leaks, you would have to stop the program from running.
7. Manually Configure your DNS Server
Deciding to set up your DNS server manually is an easy but effective way to protect your devices from DNS leaks. Complete the following steps if you wish to configure your DNS manually:
a. Disable your VPN’s leak protection
b. Navigate through Control Panel >Network Settings>Network Connections.
c. Right-click on the network adapter that you’re using and click on its properties.
d. Select Internet Protocol Version 4 (TCP/IPV4) from the list and select Properties.
Click on the radio button “Use the following DNS Server Address.” Enter the following DNS server address: (Preferred DNS: 209.222.18.222) (Alternate DNS: 209.222.18.218)
Other Security Suggestions
Online privacy is very important, especially now that hackers can find almost all your information online. That is why more people are turning to VPNs to protect themselves from hackers and government eyes.
VPNs provide powerful data protection and encryption, as well as anonymity for their users. As efficient as they may be, VPNs could still suffer DNS leaks for several reasons. However, following the seven methods mentioned earlier would keep you protected against DNS leaks. They aren’t difficult to follow.
As a bonus tip, we advise that you regularly conduct a DNS leak test before connecting to the internet. Even if the VPN is highly rated, it is better to be safe than sorry.
Businesses could use your data for many things, such as personalized ads and tracking of browsing behavior, but in the wrong hands, hackers could use it for an online attack that could cost you more data or even money.
Conclusion
When you discover that you’re suffering a DNS leak or have suspicions, disconnect from the network immediately. It has already been compromised, and it’s hard to tell how much danger you could be in within a short time.
DNS data is highly coveted on the internet, so it is best to take its security seriously. There is no telling what may cause you to suffer a leak because there are unique cases sometimes. However, conduct tests regularly, and stay safe.